Updated: 12/19/2006
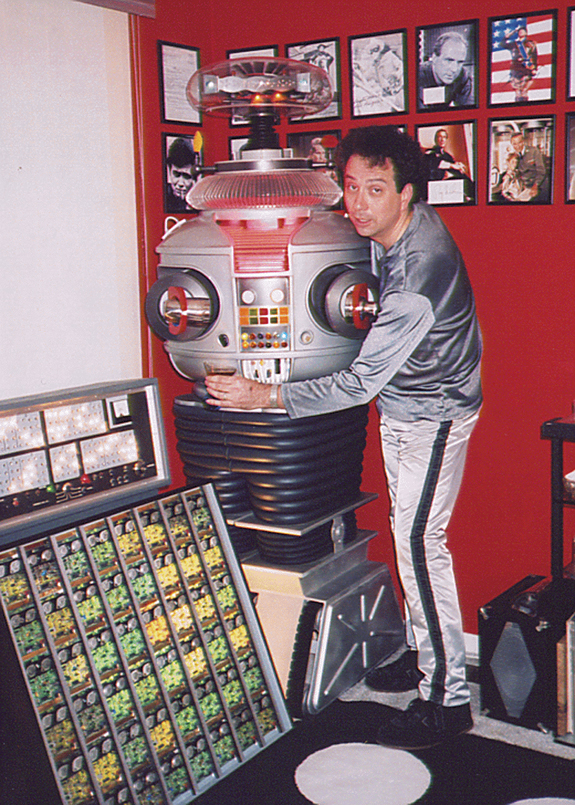
Happy
Holidays 2006 - Builder Brian C., B9-0169, with his favorite bartender.
Updated: 06/17/2006
I’ve
begun building the props for my “spaceship set / lounge
/ robot’s room”. It’s going to be heavily “Jupiter
II influenced”, but not an attempt to make a replica or
exact copy. I figure when they built the props for the show they
had a lot of latitude by using materials that were readily available
and lots of surplus junk wherever they could. I plan on taking
the same liberties. With that in mind I built two sort of “Burroughs-ish”
consoles to fit on top of the flight consoles I plan on building
later. All the dimensions were rough eye balled to be fairly close
to the originals, but also to fit in to my plan and available
space. There are many fine replicas available, but I was able
to make these for about $40 each and at that price I find the
results more than acceptable.
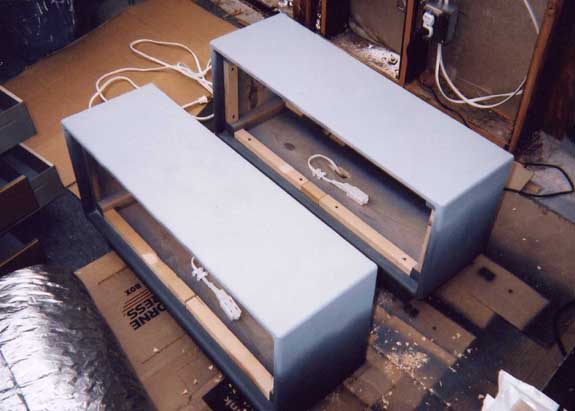
I started
out by making pine boxes resting on angled-back bases. I rounded
off all exterior and interior edges with a router and then primed
them heavily to hide the wood grain. Power is brought into the
units via cheapie extension cords. I finished them off with a
heavy coat of pewter colored texture finish paint. They remind
me of guitar amp heads.
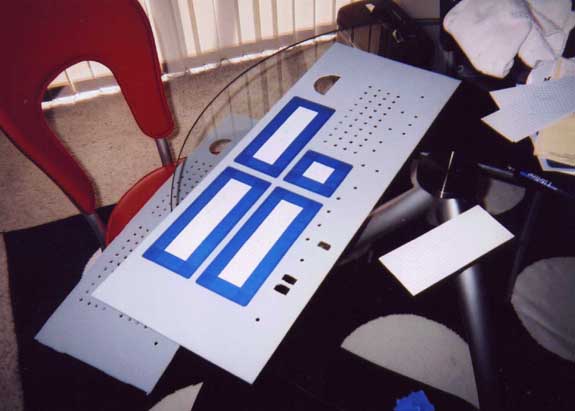
The face plates
were made from heavy cardboard with a heavy coat of primer. All
switch and button locations were marked out and pre-drilled. For
lights I’m using Christmas tree lights from Target. They
carry one that has a round globe type bulb head. I used two 100
light strings for each box. By installing the supplied flasher
bulbs at either end you can independently get each half of the
string to flash. For each unit (two strings of 100 lights) I used
a flasher at each end of one string (two separately flashing groupings)
and on the other string I only used a flasher at one end (half
of string flashes other half stays on constant) thereby having
three separate flashing groupings and one constant-on grouping
in each box. With the face plates primed, I masked off the areas
around the main bulb groupings which I wanted to remain primer
colored.
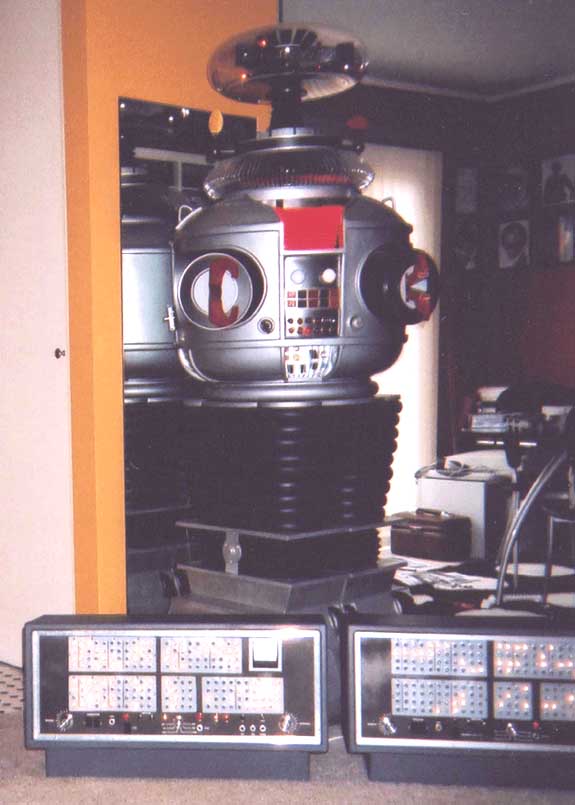
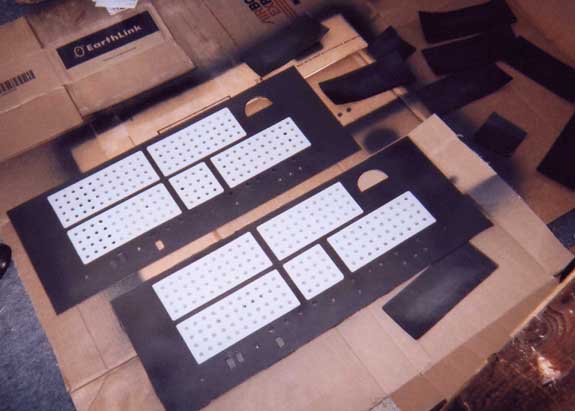
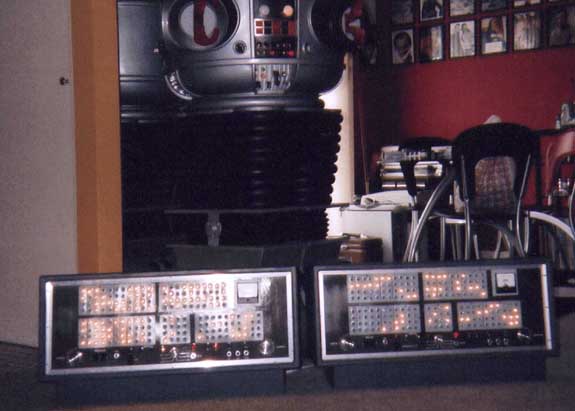
Here they
are after being sprayed a dark bronze color and the maskings removed.
The half circle cutouts on the right are because I initially was
going to use some circular gauges mounted from behind. I later
switched to front mounted square gauges which I preferred. I am
also using paddle switches (I have a ton of them around) instead
of toggle switches like a real Burroughs.
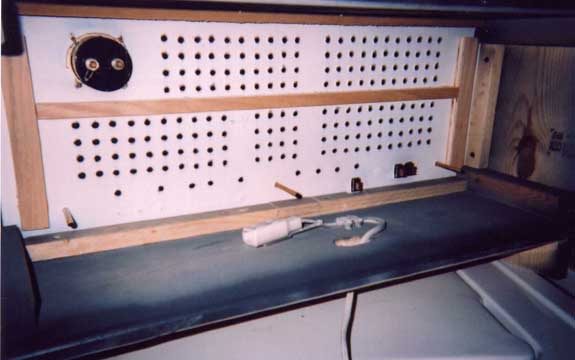
Here’s
a good shot of the inside with all the hardware attached just
prior to installing the light bulbs. The brass tubes you can see
are attached to the knobs on the front. The wood strip running
down the middle is to prevent warping of the cardboard. If you
are going to build one of these I would recommend using as much
wood as possible to reinforce the back. Cardboard is prone to
warping from humidity and I may have to ad more to mine later.
Here’s
the front with everything in place except the lights. The push
button are made from those plastic plugs from the Robot’s
lazy susan. I pushed them through the back and put washers around
them and painted them either black or red. The knobs and lettering
came from Ocean Electronics, a great source for vintage knobs
and such. I took great liberties with my lettering layouts. What
they mean, I have no idea, but it looked o.k. to me. The face
plate is held firmly against the wood backing by aluminum “L”
bar.

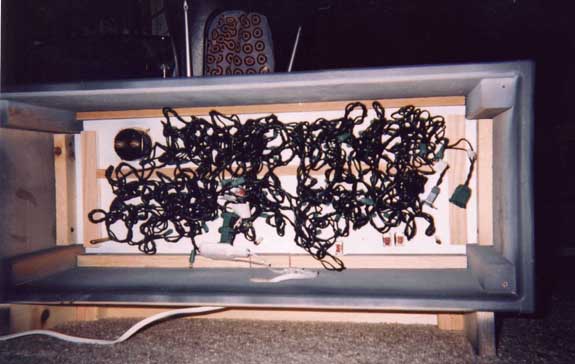
Here’s
the inside with the Christmas tree lights installed. Sheeesh,
whatta mess!!
At $40 a piece
I can definitely live with the results. Next project: I’m
going to build two flight chairs out of pine, plywood, and a couple
of those cheap black vinyl swivel reclining chairs with the tubular
frames that you find in most people’s rumpus rooms. I’ll
keep you posted.
Updated:
12/31/2005
Christmas
2005 photos.
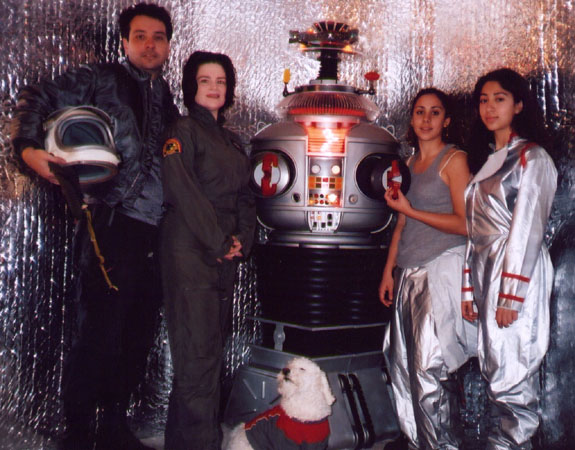
Brian,
Heidi, Haggis the dog, the Robot, Roxanne & Samantha.
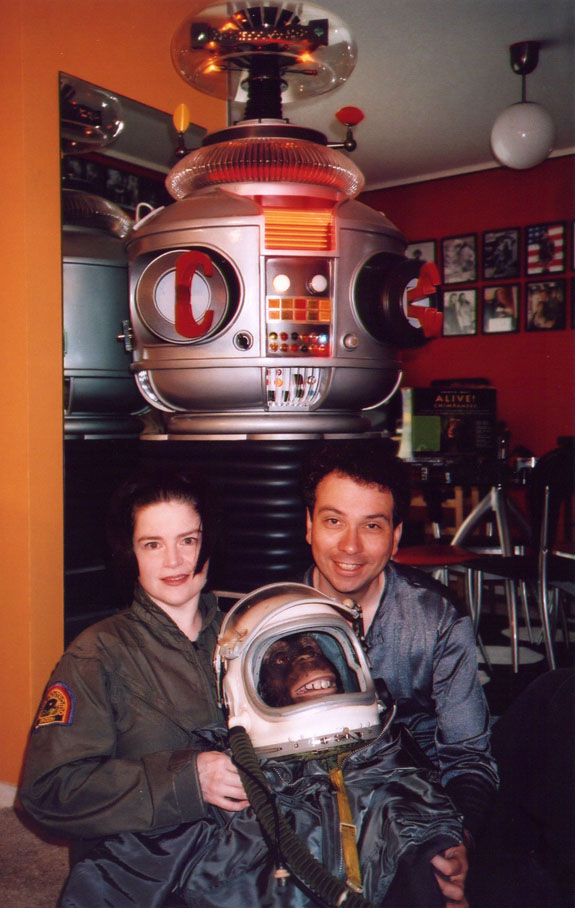
Christmas,
the day the chimp arrived. I plan to modify him into a “Bloop”.
He will keep the Robot company.
With a temporary
programming bay made from cardboard and spare parts. He
now ‘looks’ fully complete.
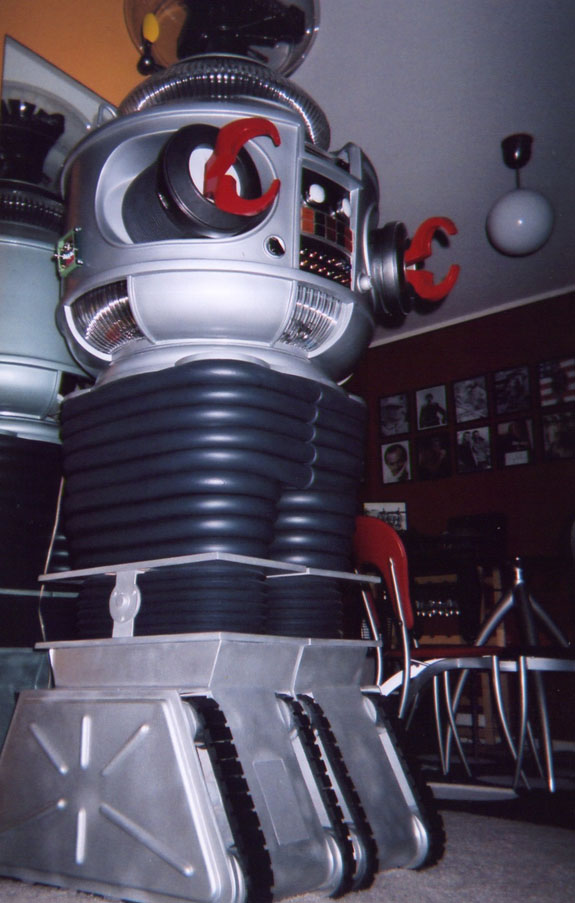
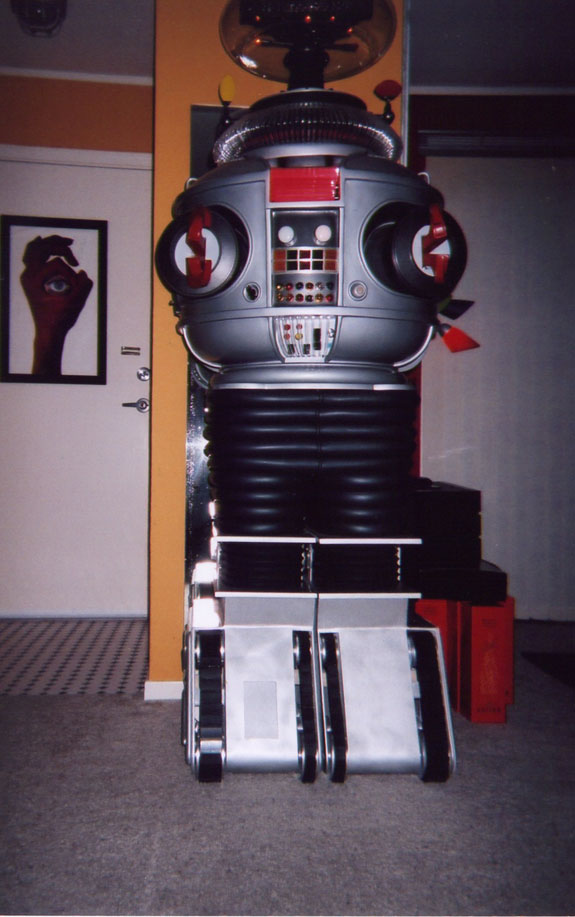
The hammered
silver paint on the torso and waist section looks as good in photos
as it does in person. Although the silver wheel coating
on the feet looks good in room light the flash picks up surface
irregularities. I may re-do them with hammer finish to correct
this although I like the idea of different silvers used on different
parts of the Robot.


 Brian
C. ( B9-0169 )
Brian
C. ( B9-0169 )