


 |
|


| Robot Reference->Construction Tips->PVC Wrists | |||
Wrists made from PVC components Submitted by Joe F. B9-0316 A very creditable, rugged
and lightweight set of wrists for your B9 may be fabricated from
off-the shelf PVC plumbing components. The cost is less than $100.
Per set. If alternate materials are used for the outer rings, or
if you share a sheet of PVC with your fellow builders this cost
may be cut more than half.
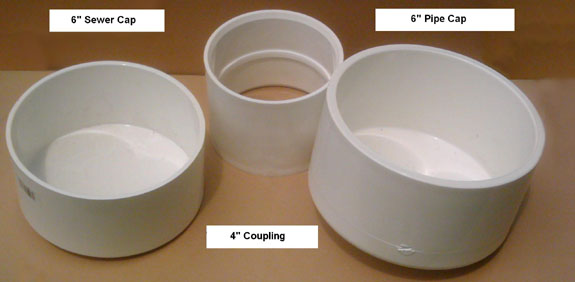
Bill of Materials Qty Description
Mfg
& part # Lowes
# Price
A lathe is by far the easiest method to cut and trim the parts and insures that the hole is truly centered and the parts fit together smoothly. Sawing and sanding would work if you go slow and measure carefully. The trim rings are cut as flat strips from ¼” gray PVC sheet. A sheet metal shear works very well for the type 1 PVC sheet from McMaster-Carr. The rings are bent by
heating them in a oven to about 225 degrees F for 20 min. A word about PVC: Most materials grow when heated. PVC is no exception, expect the strip to grow about ¼” when hot. Over-lap the edges when wrapping them. As they cool they will fall into place and leave only a small gap to fill. If you mess up, i.e.
you cut them too long, fear not! Return them to the oven and they
will magically flatten back out. Did I mention PVC has a memory
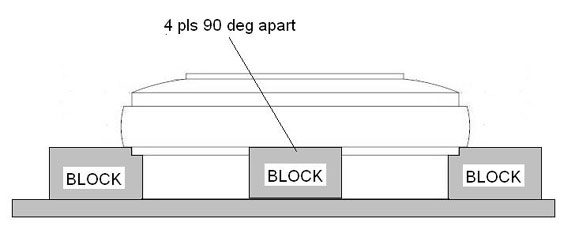
too? Before you cement the rings to the wrists drill and tap 4 holes 90 deg apart through the sides of the wrists to secure the cuffs inside the wrist. These holes are located so as to place them under the trim ring so they are not visible on the finished product. Use the disk left over from the sewer cap as the wrist centers. I spaced the mounted cuff to allow the disk to turn freely within the wrist but not rattle (about 1/8” slop) Cementing the rings can be a bit tricky, I used a simple homemade fixture to block the ring at the correct height and insure it stayed straight.
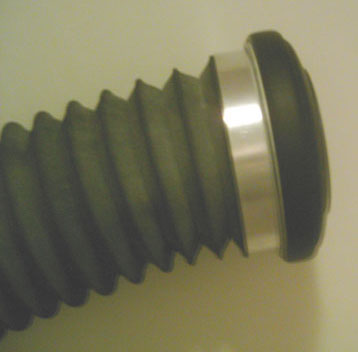
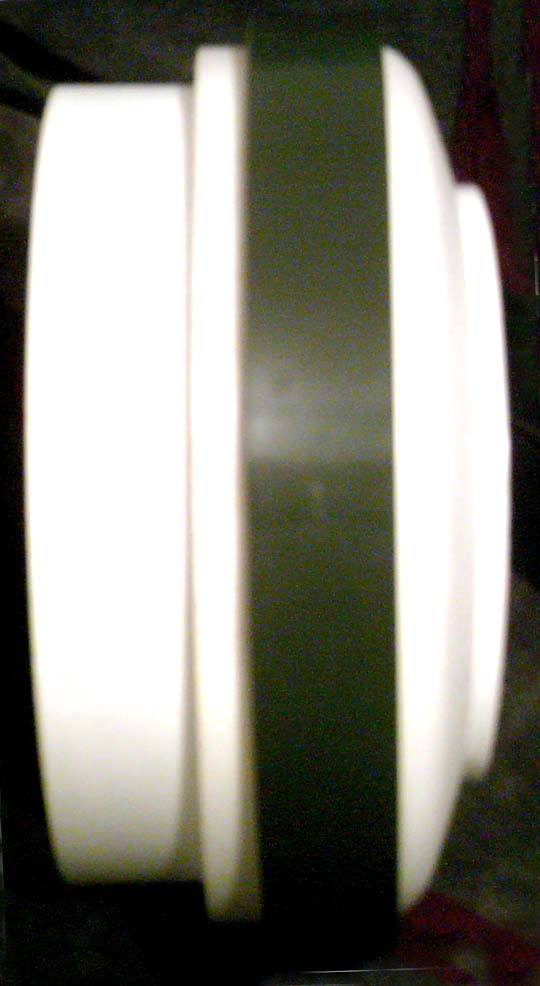
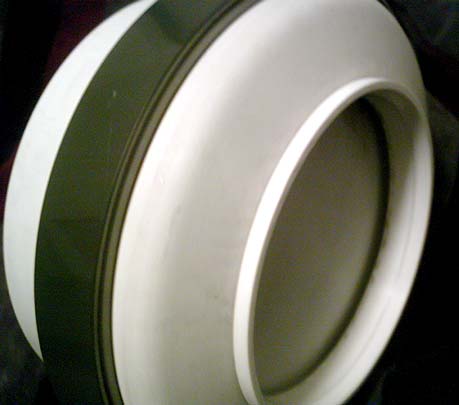
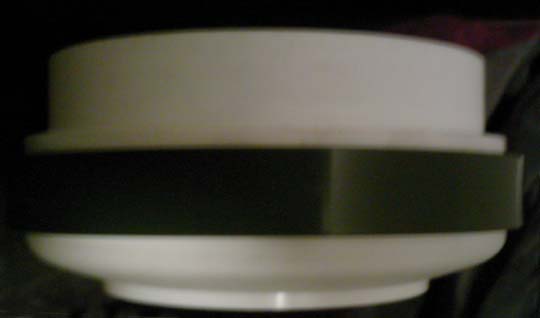
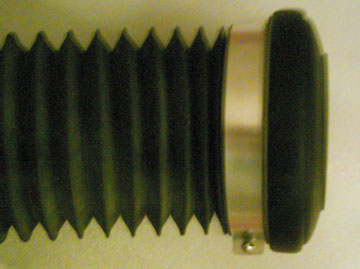
Figures 4 to 6 show the wrist assembled prior to sanding the radius on the trim ring and cementing the insert (that’s why it sticks out so far) If you want the “classic” sharp-angled face on the wrists they can be turned to shape, I personally liked the slightly rounded face of the pipe cap better. The picture quality is poor due to the limitations of my camera.
|
|||
 PVC
Wrists
PVC
Wrists