


 |
|


| Robot Reference->Construction Tips->Claw Construction | |||
By Mark W (B9-0135) Making the Claws from Scratch
I was always afraid of this part of the project, and I was convinced that making the claws on my own would be extremely difficult. It turned out to be MUCH easier than I thought. If you are making your own or find other ways that work better, please email me at: markweesb9@cs.com
I’m sure that this is not the best way to make claws, but it is one way to do it. Remember that Bill K. is the claw EXPERT. If you are not bent on making every B9 part on your own, buy a set of Bill and Rod’s claws. If you want to make your own, here is how I did it.
Materials
4 pieces of 3” x 10” x 1” Birch Plywood (3/4” laminated to ¼”) Scroll Saw or Jigsaw Bench Sander Drill Press with Drum Sander Wood Putty Sandable wood sealer Bondo Glazing Putty (for finishing) Duplicolor Filler Primer (for finishing)
A hint to start: Do all of your sanding at the same time for each step. If you forget to shape an angle and have to come back to it later, it will be hard to get the angle to match the others that you have done. (Take it from me – I have made this mistake LOTS of times!)
1) Make the Pattern: I used the Dave Painter blueprints, an “old version” Bill K. claw, and several photos of the claws to create a pattern for the claw which I cut from styrene. 2) Trace the
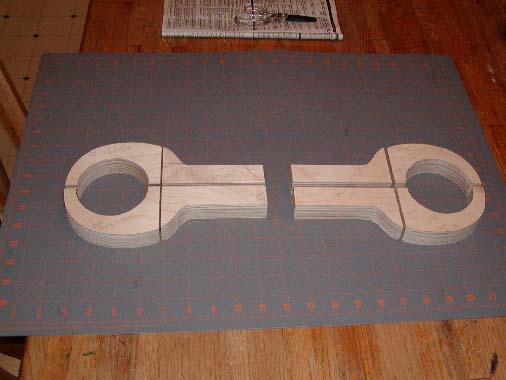
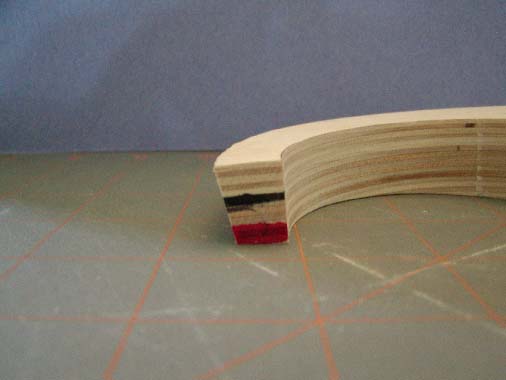
Pattern I then traced the patterns onto 4 pieces (per claw) of 1” thick birch plywood that I had laying around as scrap from making the knees. (After looking at some other claws, I think that the stock should be thicker than 1”, but it is what the pictures here show.) I traced the front and back of each claw on a separate piece of wood – it makes the edges match better in future steps.
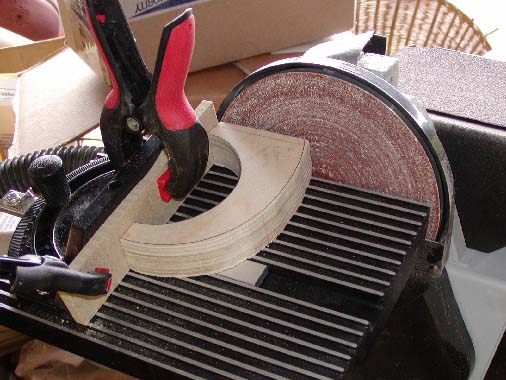
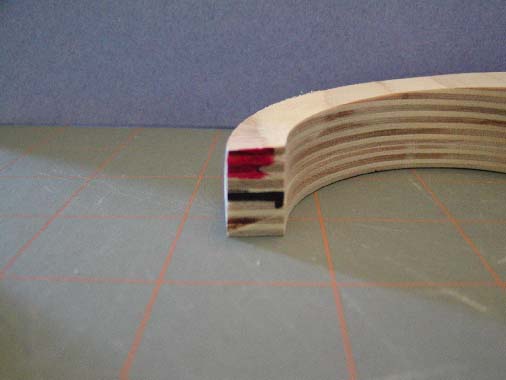
Cut them a little outside the tracing (especially the inner circle of the claw). You will sand closer later. Also – mark each piece so that you can match them up later. I marked the right/left claw front (pincer) and back (wrist) as well as whether the piece was for the upper or lower claw. From this point on I did not mix up the pieces. Also, be sure to mark each piece on the side that faces outward on the finished robot. This will be very important in future steps! Using the Disc Sander (60 grit), set the table angle. I used 15 degrees. Sand both the “wrist” and “pincer” part of the claws with the OUTSIDE FACE FACING UP. After sanding, the wrist portion will have a slight inward angle. The joint ends will be the same width, but the shape on the top of the two will not match.
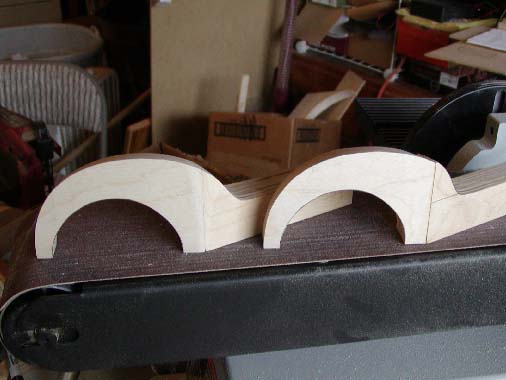
5) Sand/Shape the Inner Angle Using the Disc Sander (60 grit), set the table angle. I used 20 degrees. With the OUTSIDE FACING UP, sand/shape the inner claw angle on the pincers (you do not need to sand the wrist pieces). Clean up and smooth the pieces to meet the tracing. After this step, the wrist and pincer inner angles should be pretty close.
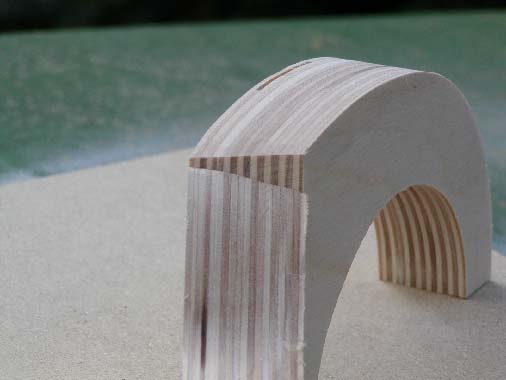
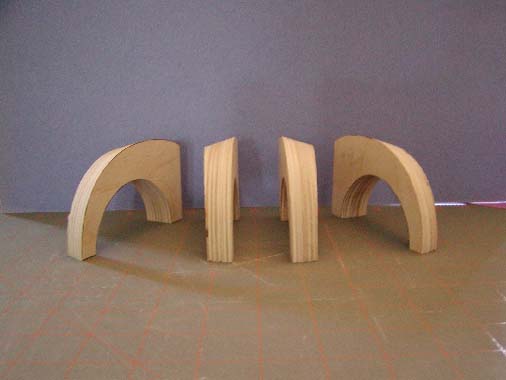
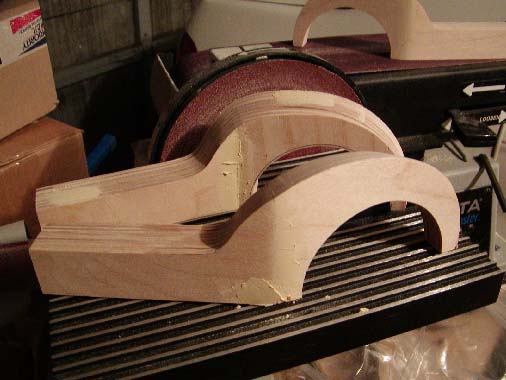
6) Shape the
narrow end of the pincers. At this point the pincers of the claws are way too thick at the front. Mark the width of the tip from the outside face inward. Using the Belt Sander, carefully sand the pincer WITH THE OUTSIDE FACING UP, being careful to keep the wrist end of the pincer just above the belt. Work slowly and carefully. When both the top and bottom of one pincer are close, compare the width at the tip to make sure that they match. The tip of the pincers will be at an angle. Set the Disc Sander table to 0 degrees and sand (with OUTSIDE FACING DOWN THIS TIME) until the tip is rectangular. Your claw will have a flat spot on the front now, but don’t panic. Carefully smooth the flat spot with the sander to blend the angles in. I rotated the piece about 1/3 up the pincer with the disc sander, then blended the different angles on the belt of the belt portion. You might need to hand sand with a sanding block for final blending. Pincers are done!
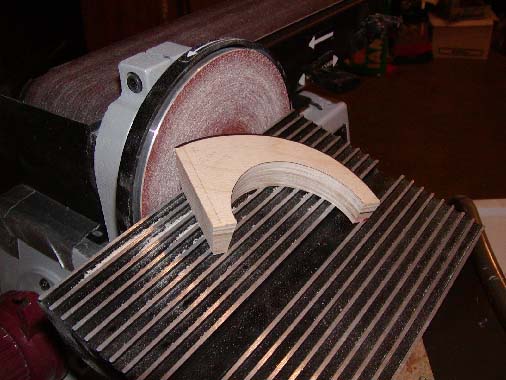
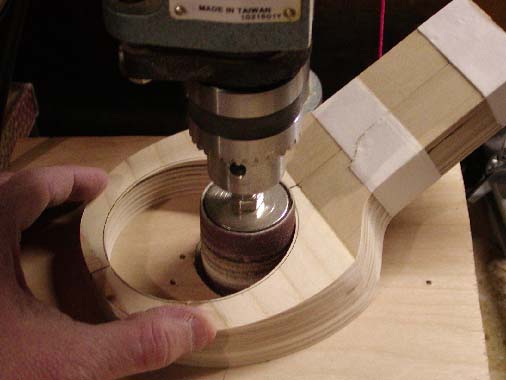
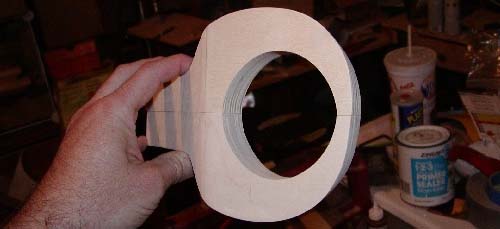
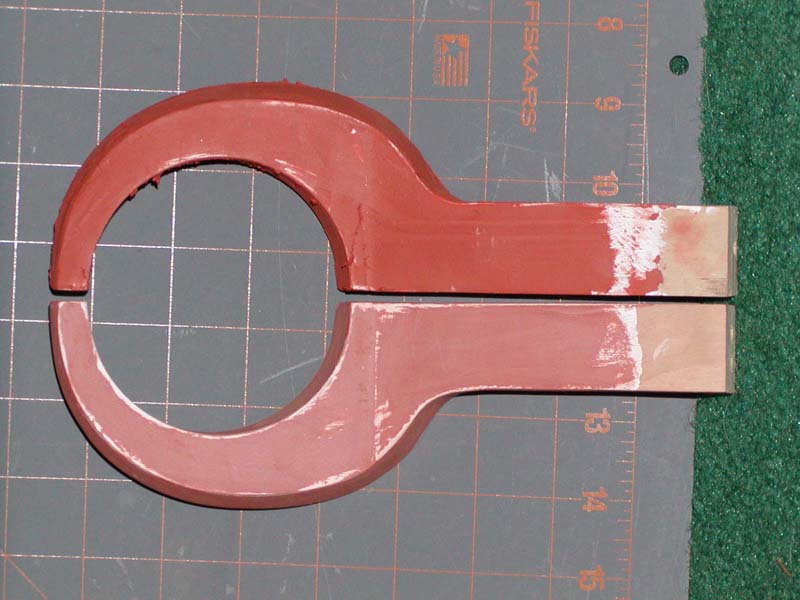
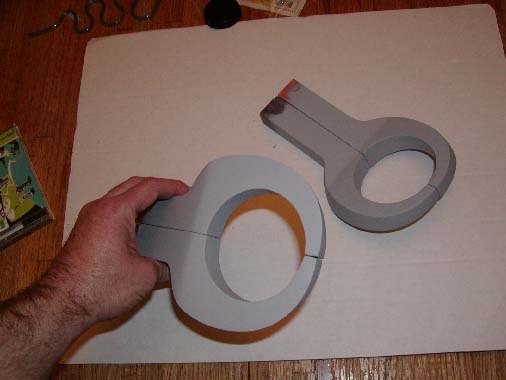
8) Glue the
Wrists and Pincers Glue the pincers and wrist pieces together with wood glue. I though that at I might want to put a dowel for strength, but tried to break apart a test claw with the simple butt joints and it did not budge. Match the claws and tape them together in the closed position. Then use a drum sander attachment (I had one for my drill press) to smooth out the inner circle so that the hole is round and both the top and bottom of the claw match. I ended up sanding my circle a little smaller near the front because of the flat claw tip – I kept working until it looked right. Smooth out the edges on the belt sander, putty any nicks with wood filler, and sand smooth. I reset my bench and drum sanders to 150 grit to get everything smooth, but it will be smoothed during finishing anyway, so this was probably not necessary.
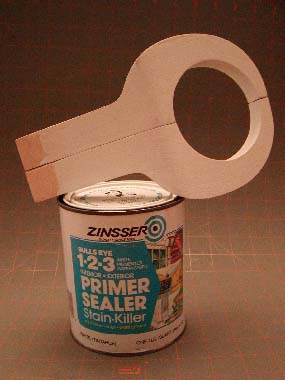
Ready for Finishing!
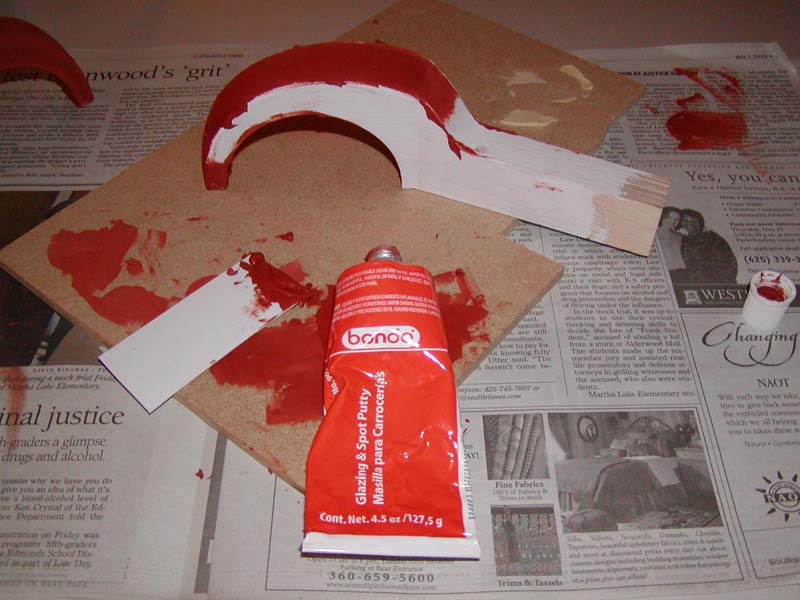
This is time consuming, but not difficult. Take your time and come back to it if you get bored. I hated this part, and I more than once said “I’d better just buy a set of claws”. Pride got the best of me, though, and I persevered…
4) Skim coat again with Bondo Glazing Putty 5) Sand high spots with 320 grit paper, then lightly sand with 600 grit to smooth. 6) Prime with a sandable automotive primer. I used Duplicolor Filler Primer. 7) Sand according to directions with 400 or 600 grit paper. 8) Fill any pits with glazing putty. 9) Sand smooth with 600 grit paper. 10) Prime again with filler primer and sand if needed. Be picky. Although the final paint coats of color for the claws will fill some pits, the high gloss will magnify imperfections.
FINALLY DONE!
|
|||
 Claw
Construction
Claw
Construction